How to Paint Kitchen Cabinets Like a Pro!
A huge Thanks to Jolie Paints for partnering with us on this project.
A COMPLETE STEP-BY-STEP TUTORIAL FOR PAINTING KITCHEN CABINETS LIKE A PRO & AS QUICKLY AND EASILY AS POSSIBLE WITHOUT REMOVING CABINET DOORS!
If you’re following me on Instagram, you already know that I (almost) spent a week painting my kitchen cabinets (didn’t spend exactly every minute painting, but). YES- I did it all by myself, and NO- I’m not a pro at painting, although, it was super easy and I wanted to share exactly how I did it all along with my kiddos being at home for summer and I was working around their schedules with chauffeuring them to summer school and other activities such as swimming, Taekwondo, etc. Didn’t expect much help from my hubs, coz he was working all week and Apart from that, I was cooking at home and cleaning dishes too.. Yet, it was worth every single second that I spend to paint these cabinets, and I truly enjoyed the entire process and couldn’t have done this without the ease of using Jolie Paints. Let me share a bit about JOLIE PAINTS..
JOLIE PAINT
Jolie Paint is a water-based, non-toxic, and quick-drying paint for furniture, cabinets, floors, walls, and home accessories. It adheres to almost any surface and makes it easy to achieve beautiful finishes such as smooth, modern, distressed, textured and many more. No priming or sanding is required. And you can get creative by mixing colors. And has great coverage!
And I seriously broke the laws of painting Kitchen Cabinets- I painted my cabinets without removing the cabinet doors. Yes.. I totally skipped that part (and NO REGRETS, whatsoever!) And NO PRIMER REQUIRED!! Yes, with JOLIE PAINTS, I didn’t need to use a PRIMER! Impressive, right???
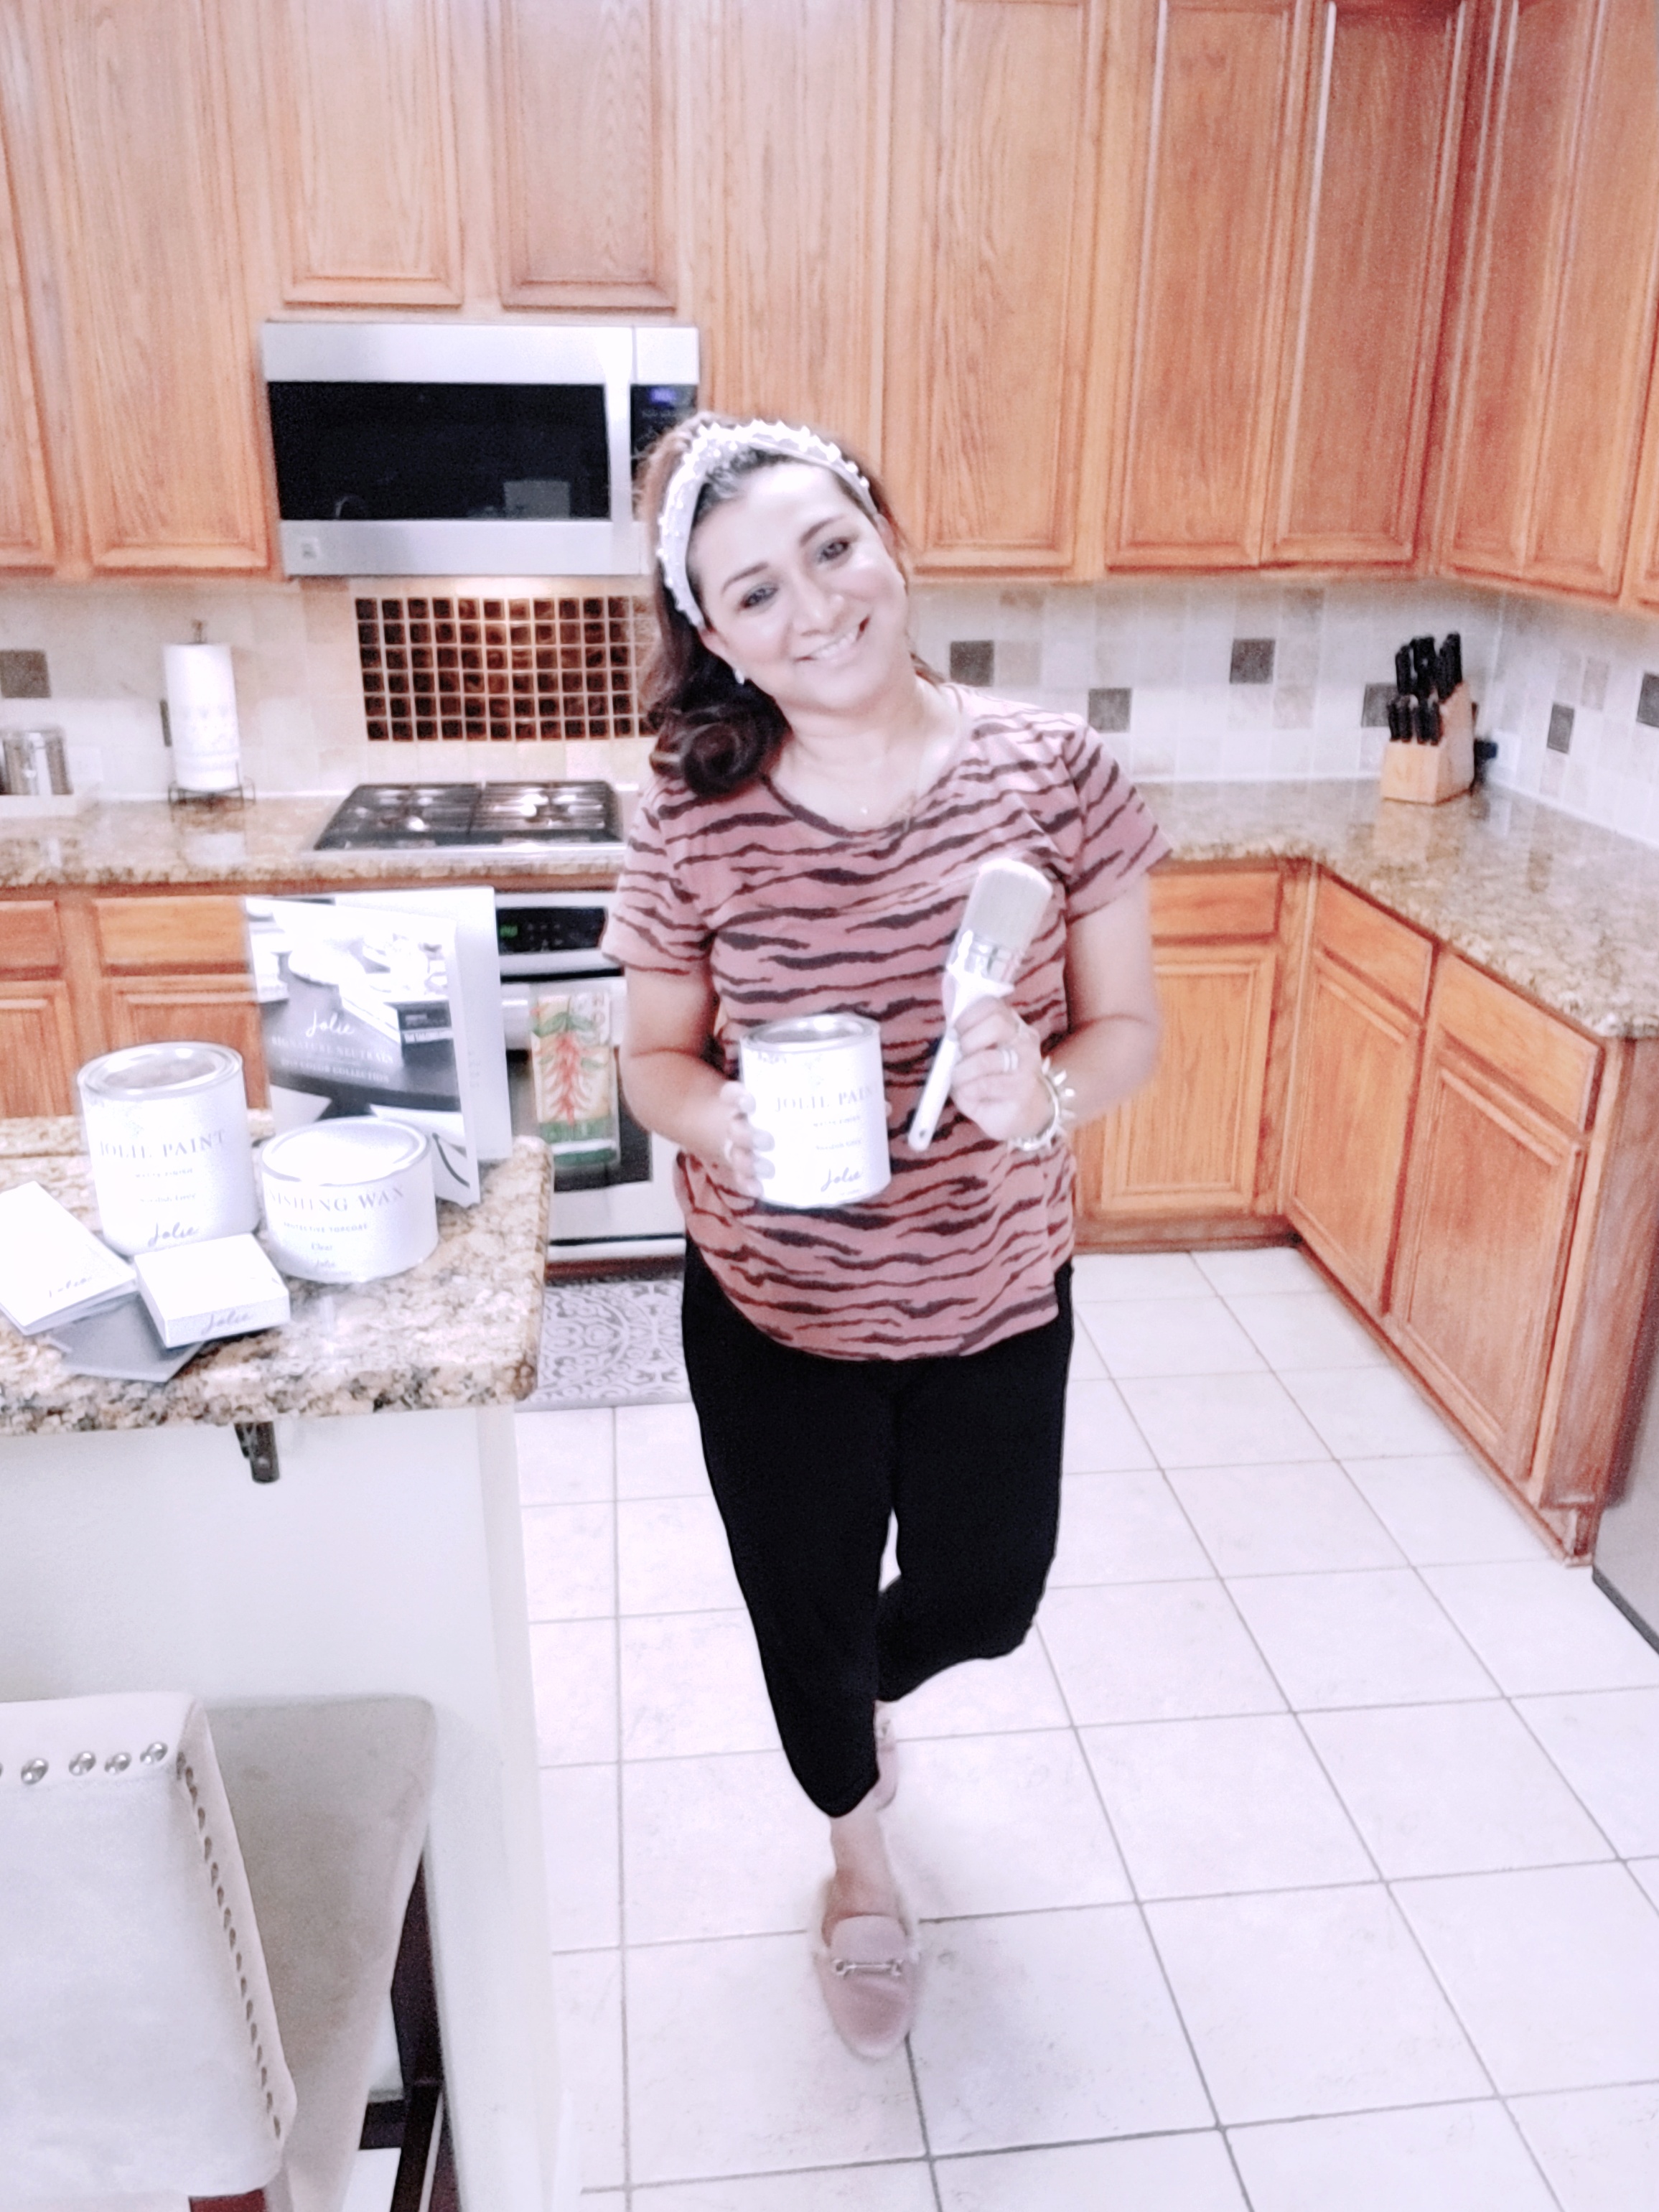
BEFORE
This is what my Kitchen looked before I started this project. I read through so many tutorials and articles and professional cabinet painter tips as I could find to come up with my method to make them as durable as possible and paint them as quickly and easily as possible.
Supplies Used
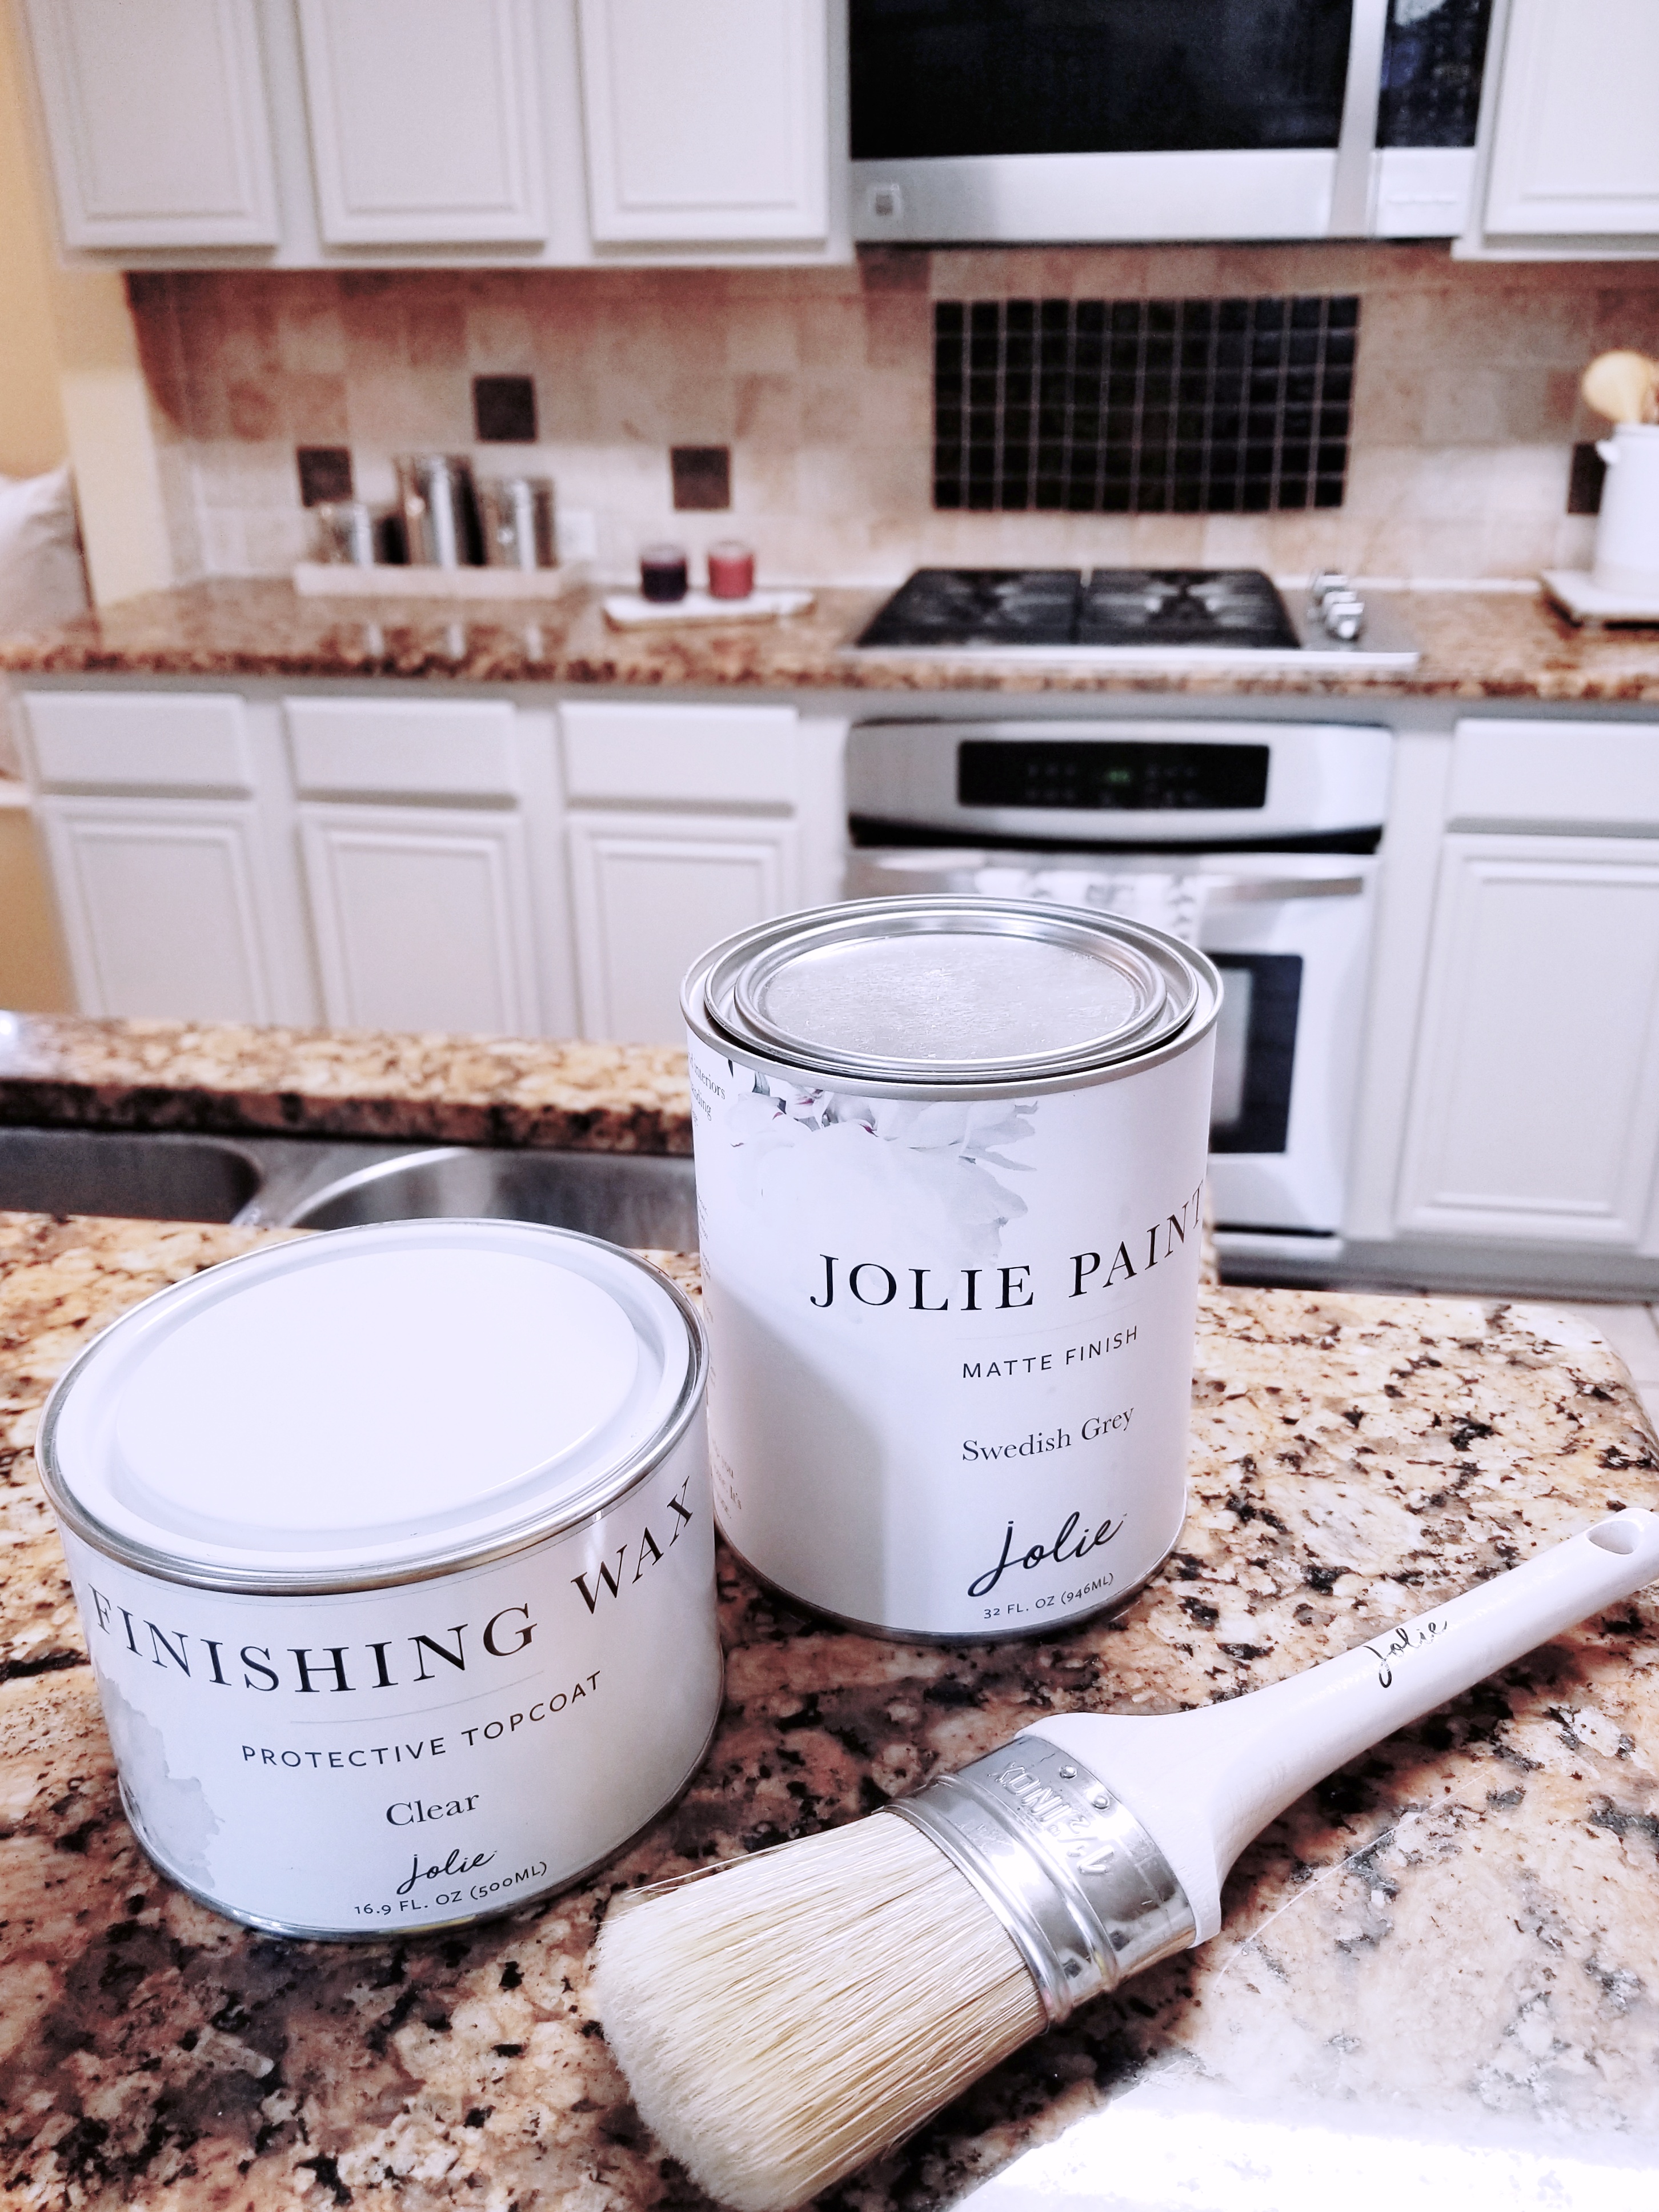
- Jolie Paint (Swedish gray)
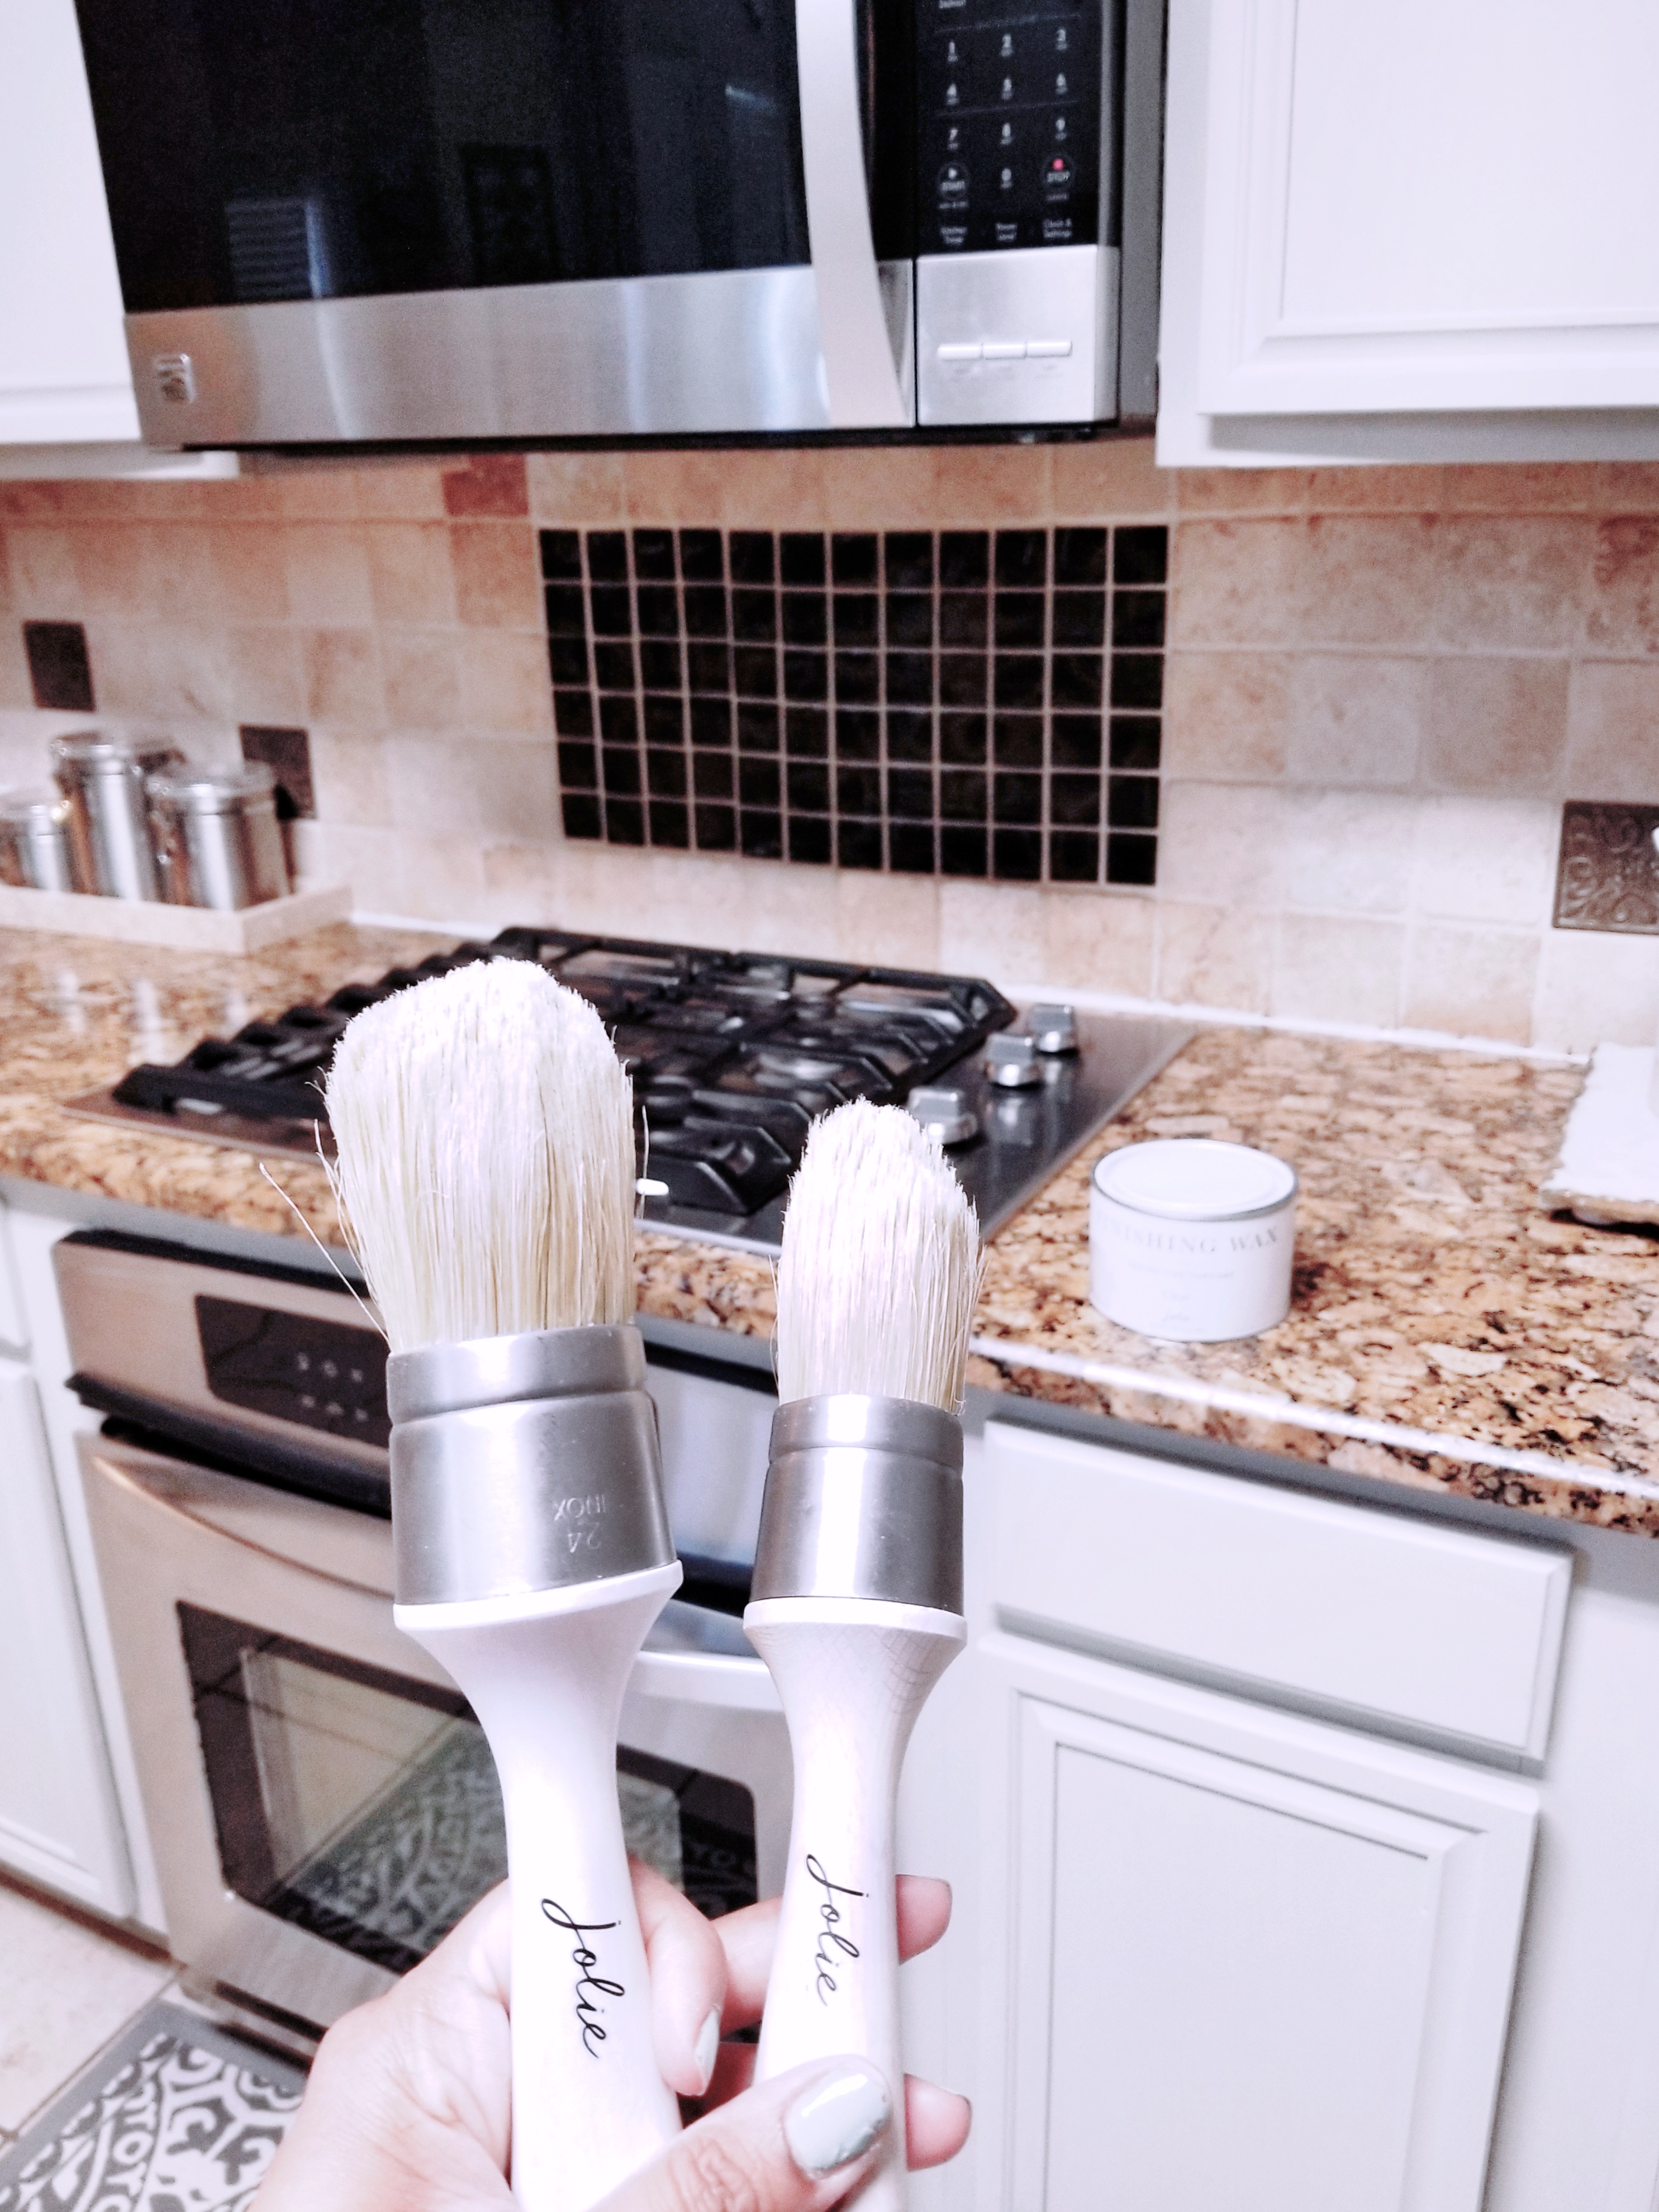
- Jolie paint brushes –this & this (small and large- seriously the best ones)
- Jolie Paint Finishing Wax (Clear)
- Jolie Paint wax brushes- this and this (Large and Painted brushes- highly recommend using Jolie paint brushes. They’re great quality)
- Drop cloth – I used this Husky plastic ‘use and throw’ one
- Painter’s tape
- Sandwich zipper bags (optional, but highly recommend to store the wet paintbrushes overnight, so the brushes don’t dry off the paint/wax in between coats)
- Clean, lint free rags
- Gloves (your manicure will thank you later)
- Paint stirrer (craft stick- picked up one from Home Depot paint department)
- Paint tin opener (picked up from Home Depot paint department)
- Jolie Paint sanding pads – seriously the best out there!
- Magic Eraser
- Small artist brush Wish I had this one, (instead of a makeup brush that I used)
STEP 1: Optional- Sanding the cabinets (I sanded them down very very lightly, using these sanding pads, not necessary step at all)
STEP 2: Wiping down the cabinets using magic Eraser.
STEP 3: Masking areas using painter’s tape
STEP 4: Spreading the drop cloth
STEP 5: Painting 2 X Coats of Jolie Paint (allowing first coat to completely dry for a few hours, before applying second coat)
STEP 6: Applying 2 X Coats of Jolie Paint Finishing Wax (applied wax in the same direction, as I applied the Jolie Paint coats)
STEP 7: Wiping down the cabinets with clean lint free rags to remove access wax after letting the Finishing wax sit overnight. Ta..da!
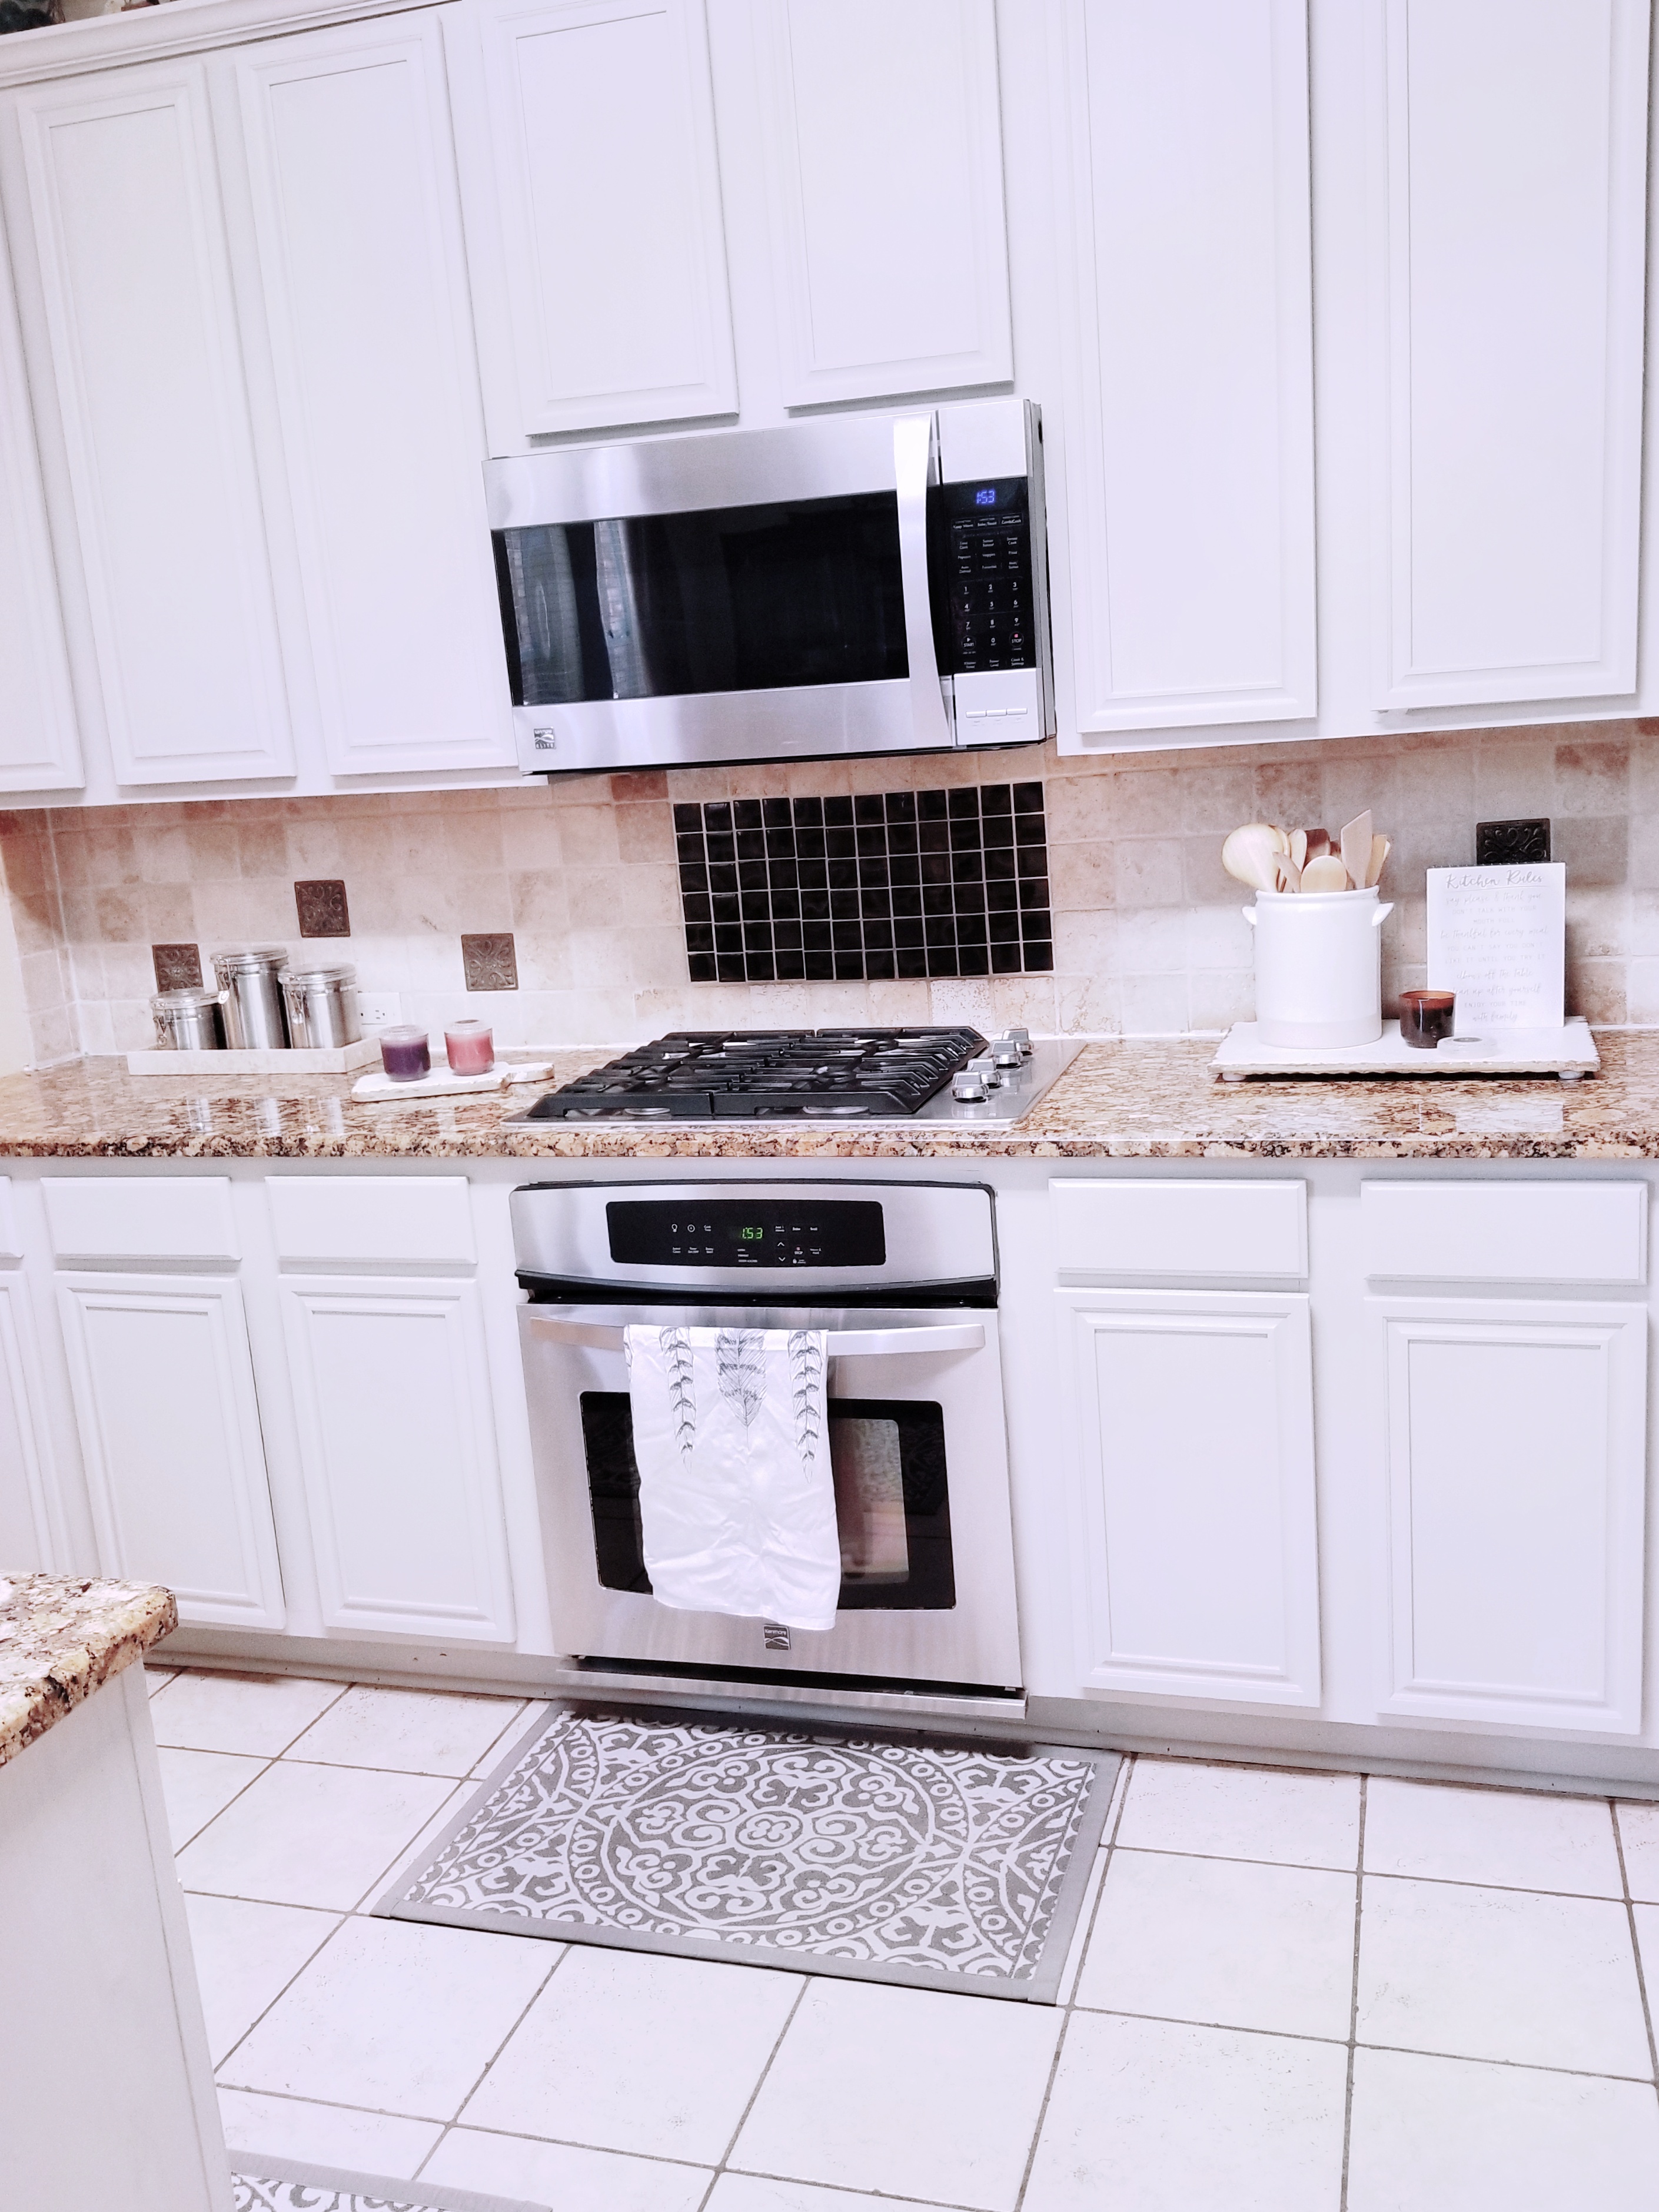
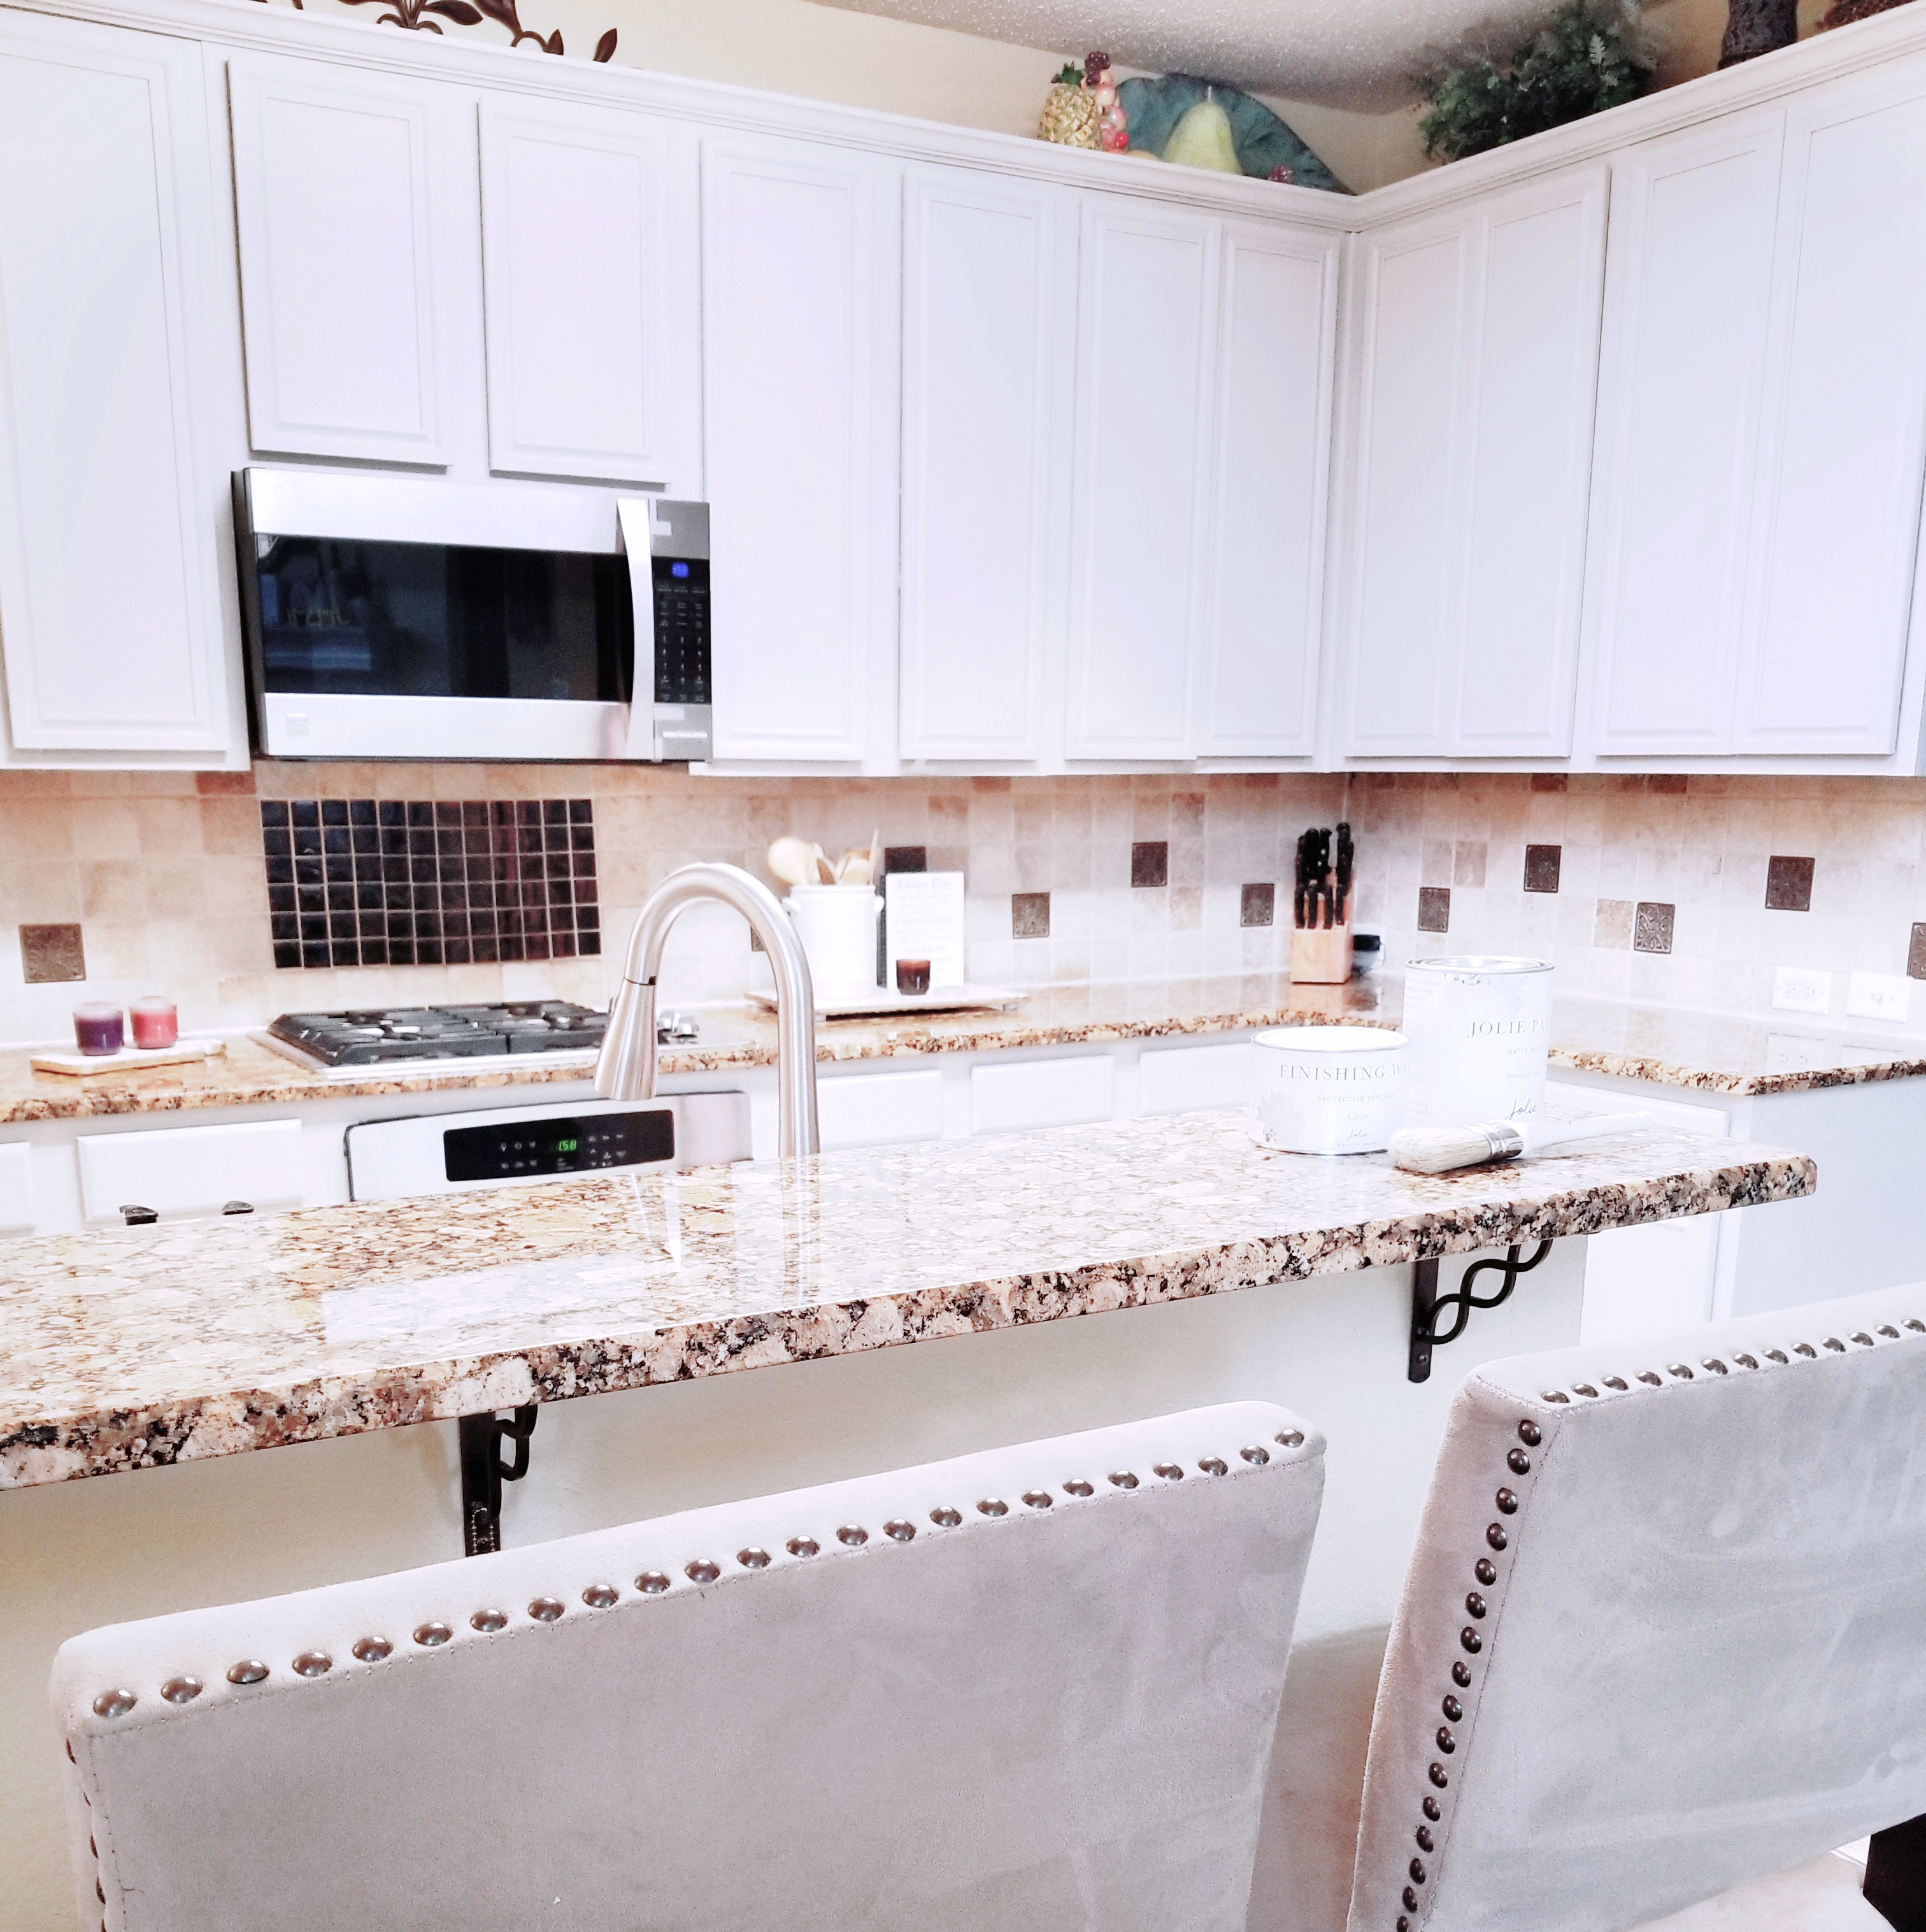
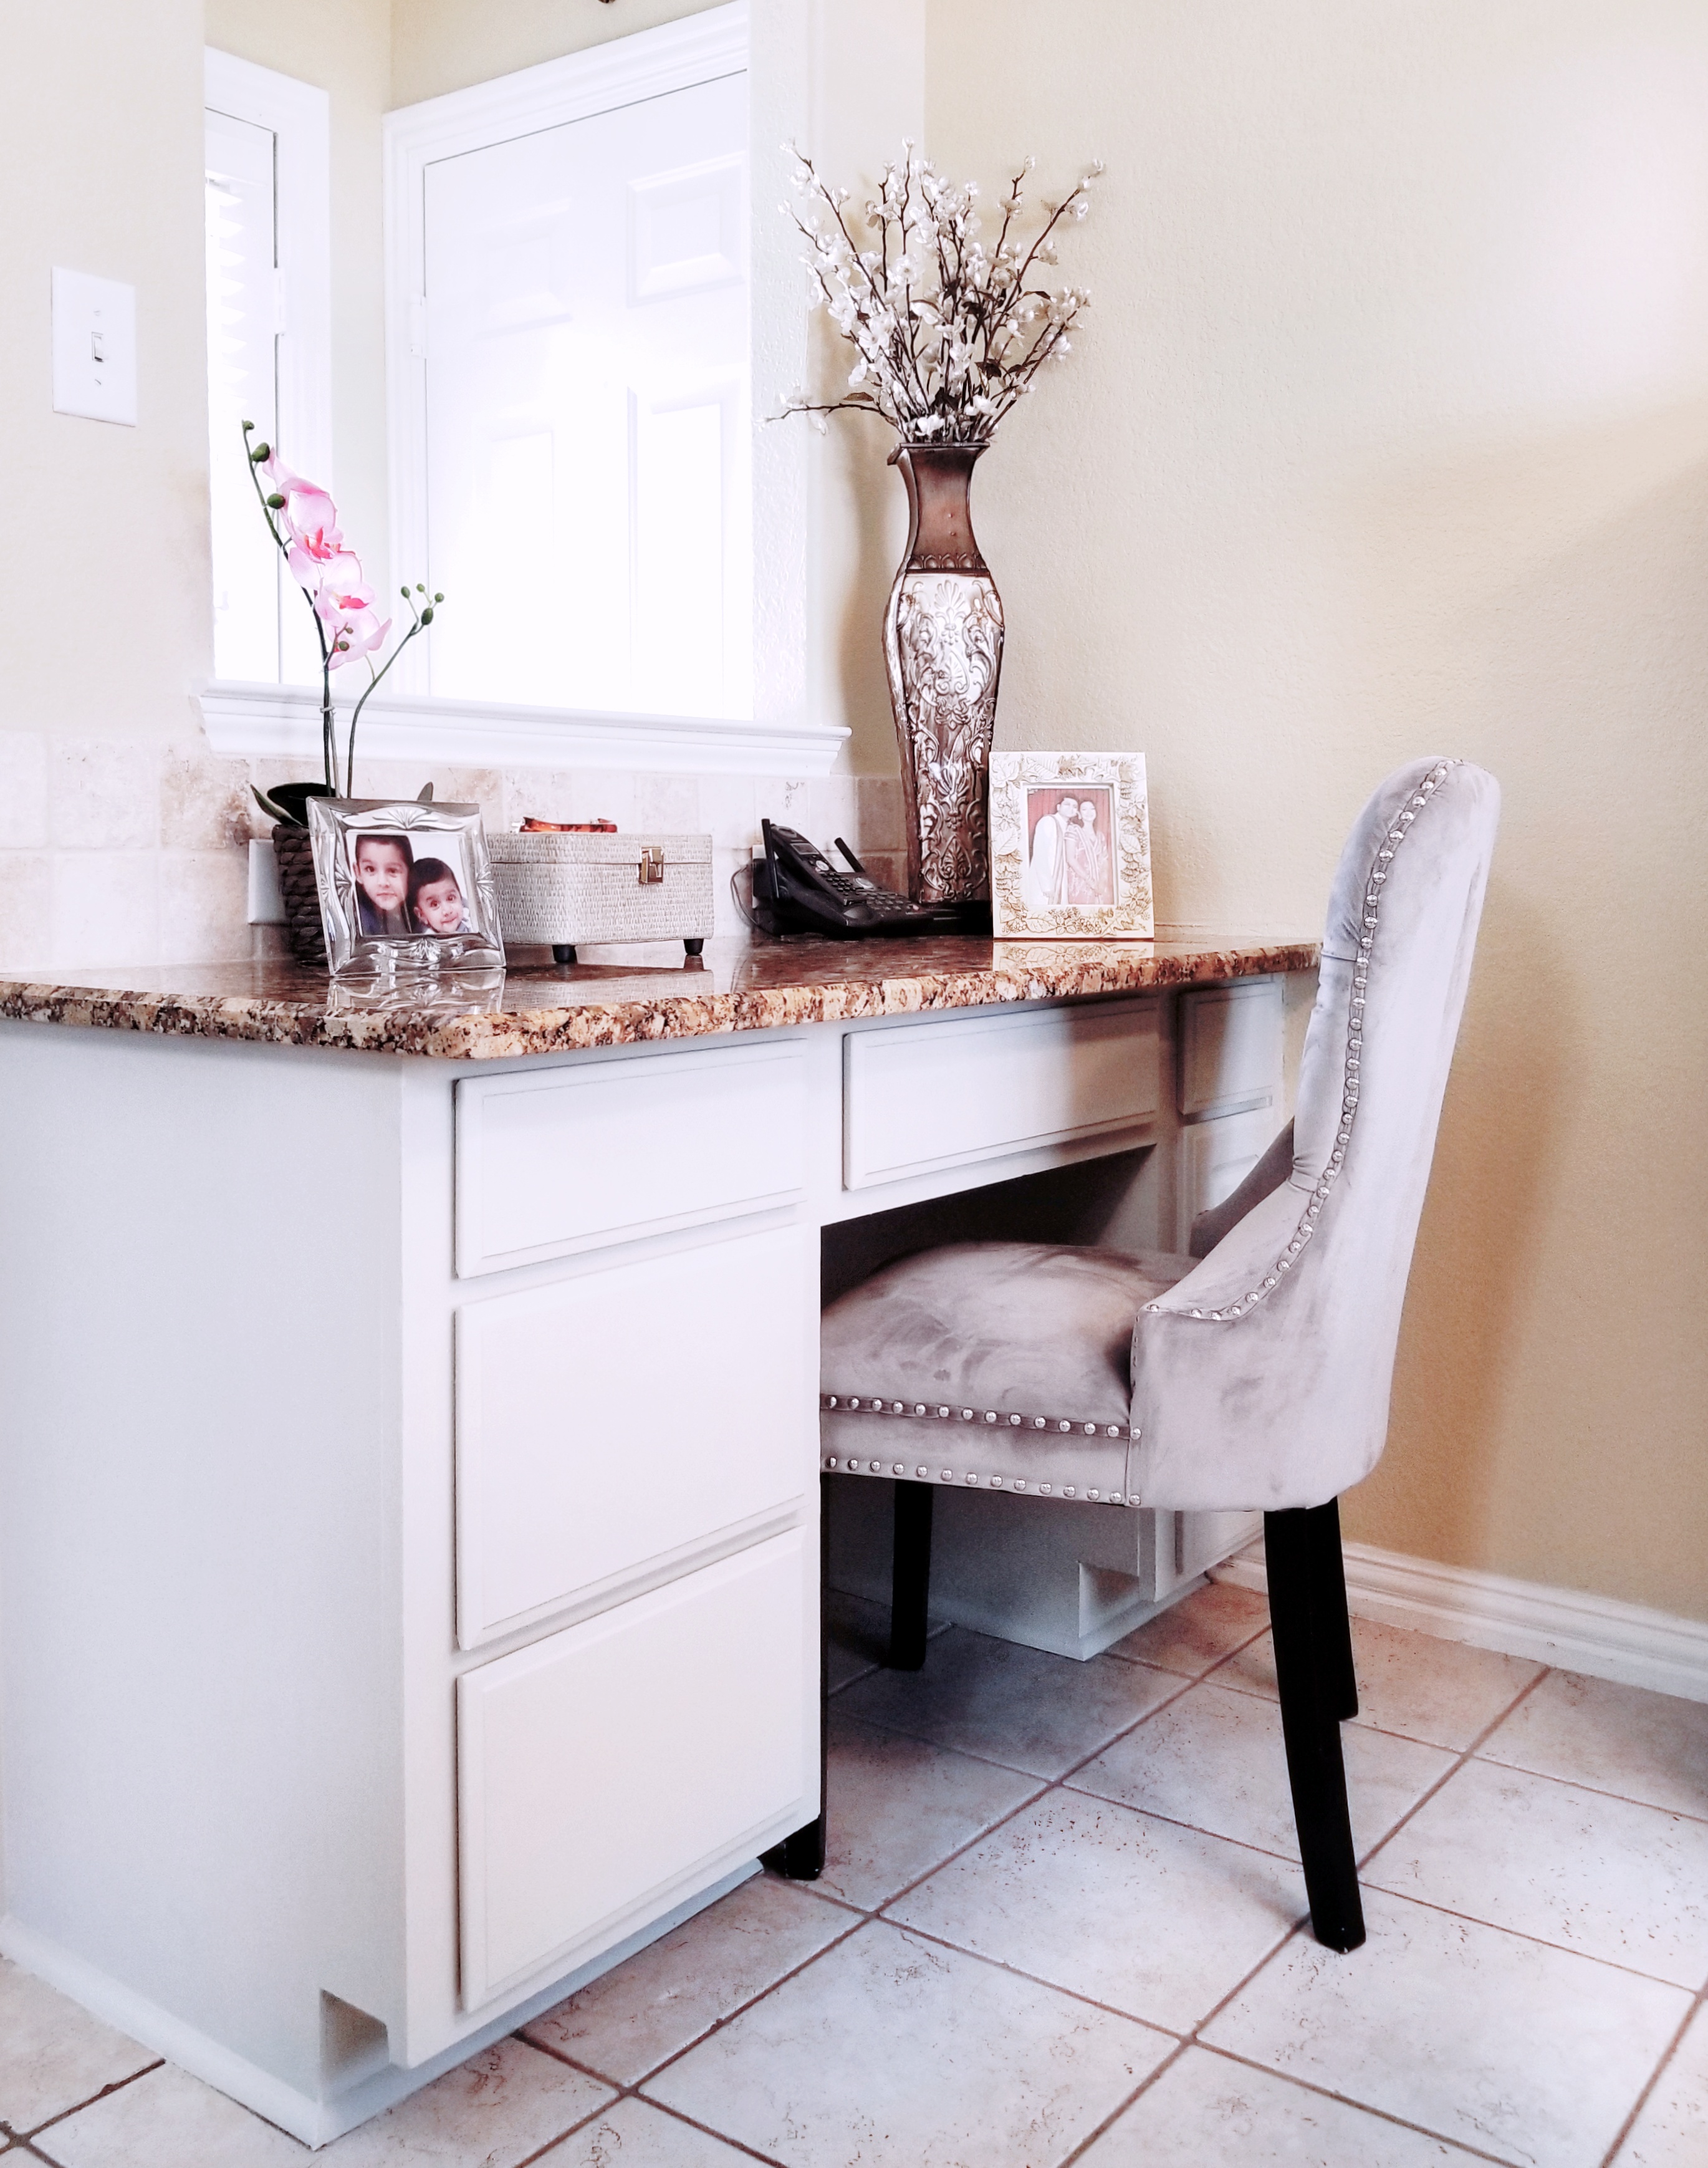
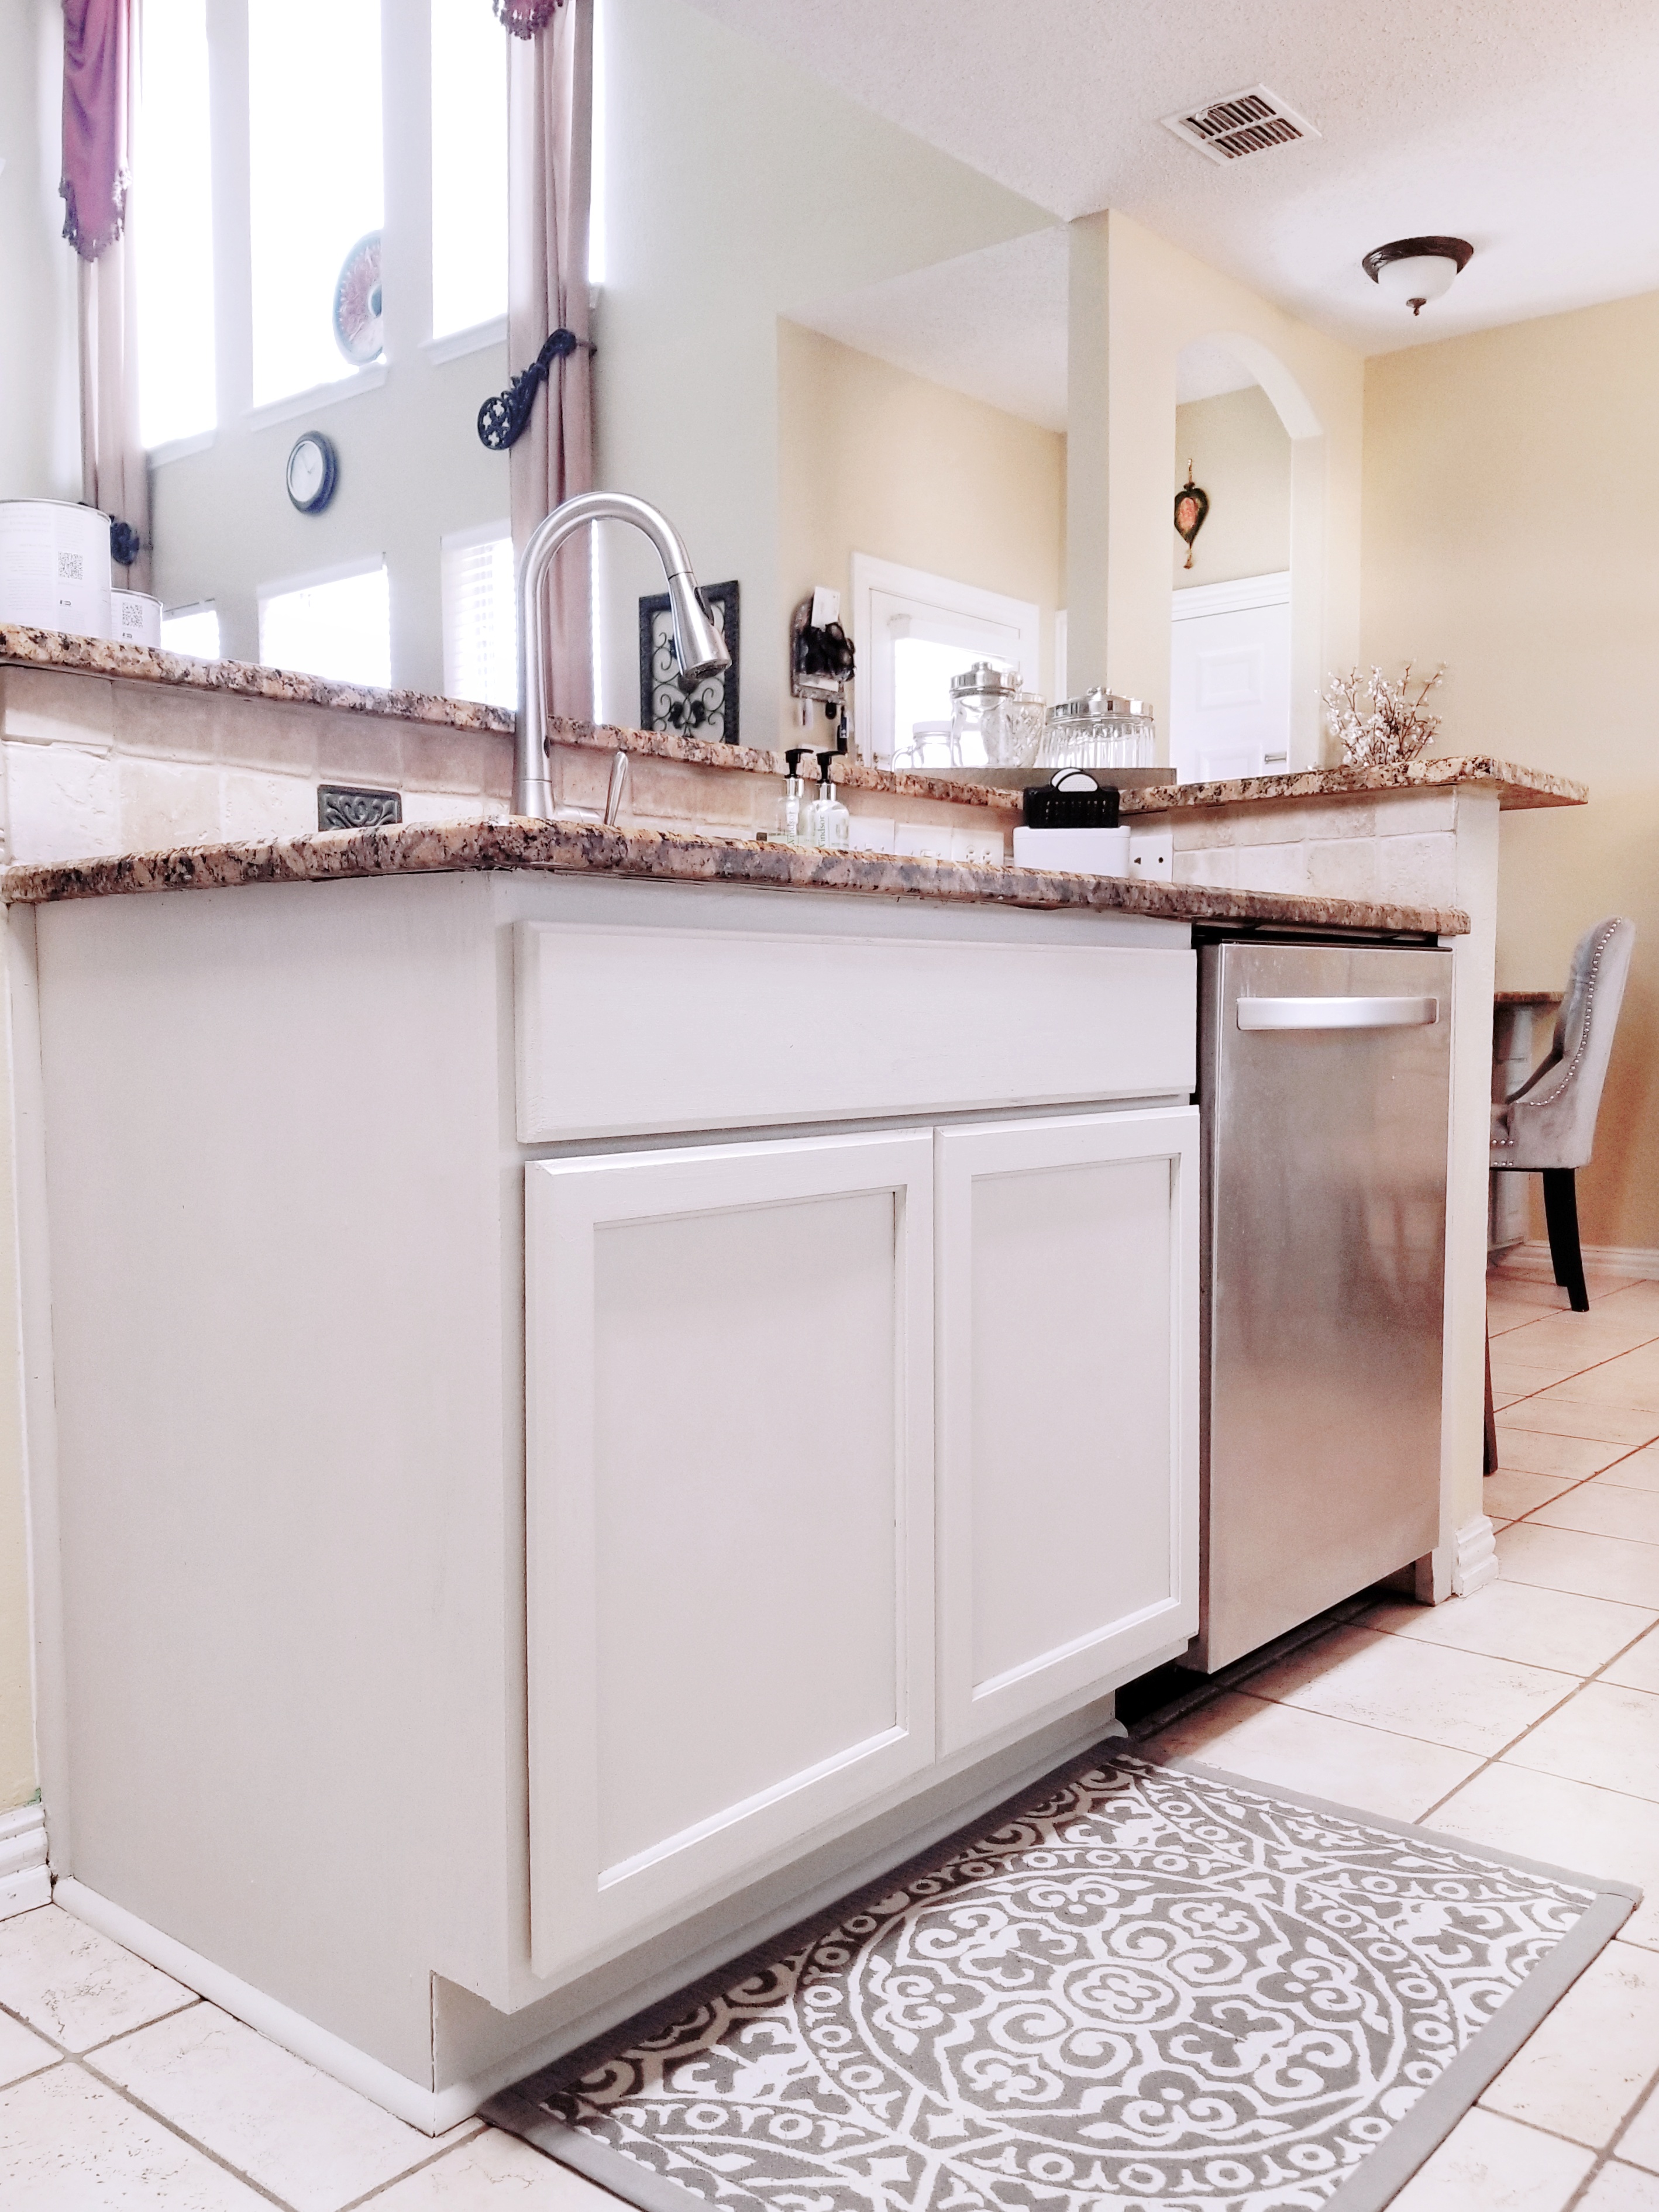
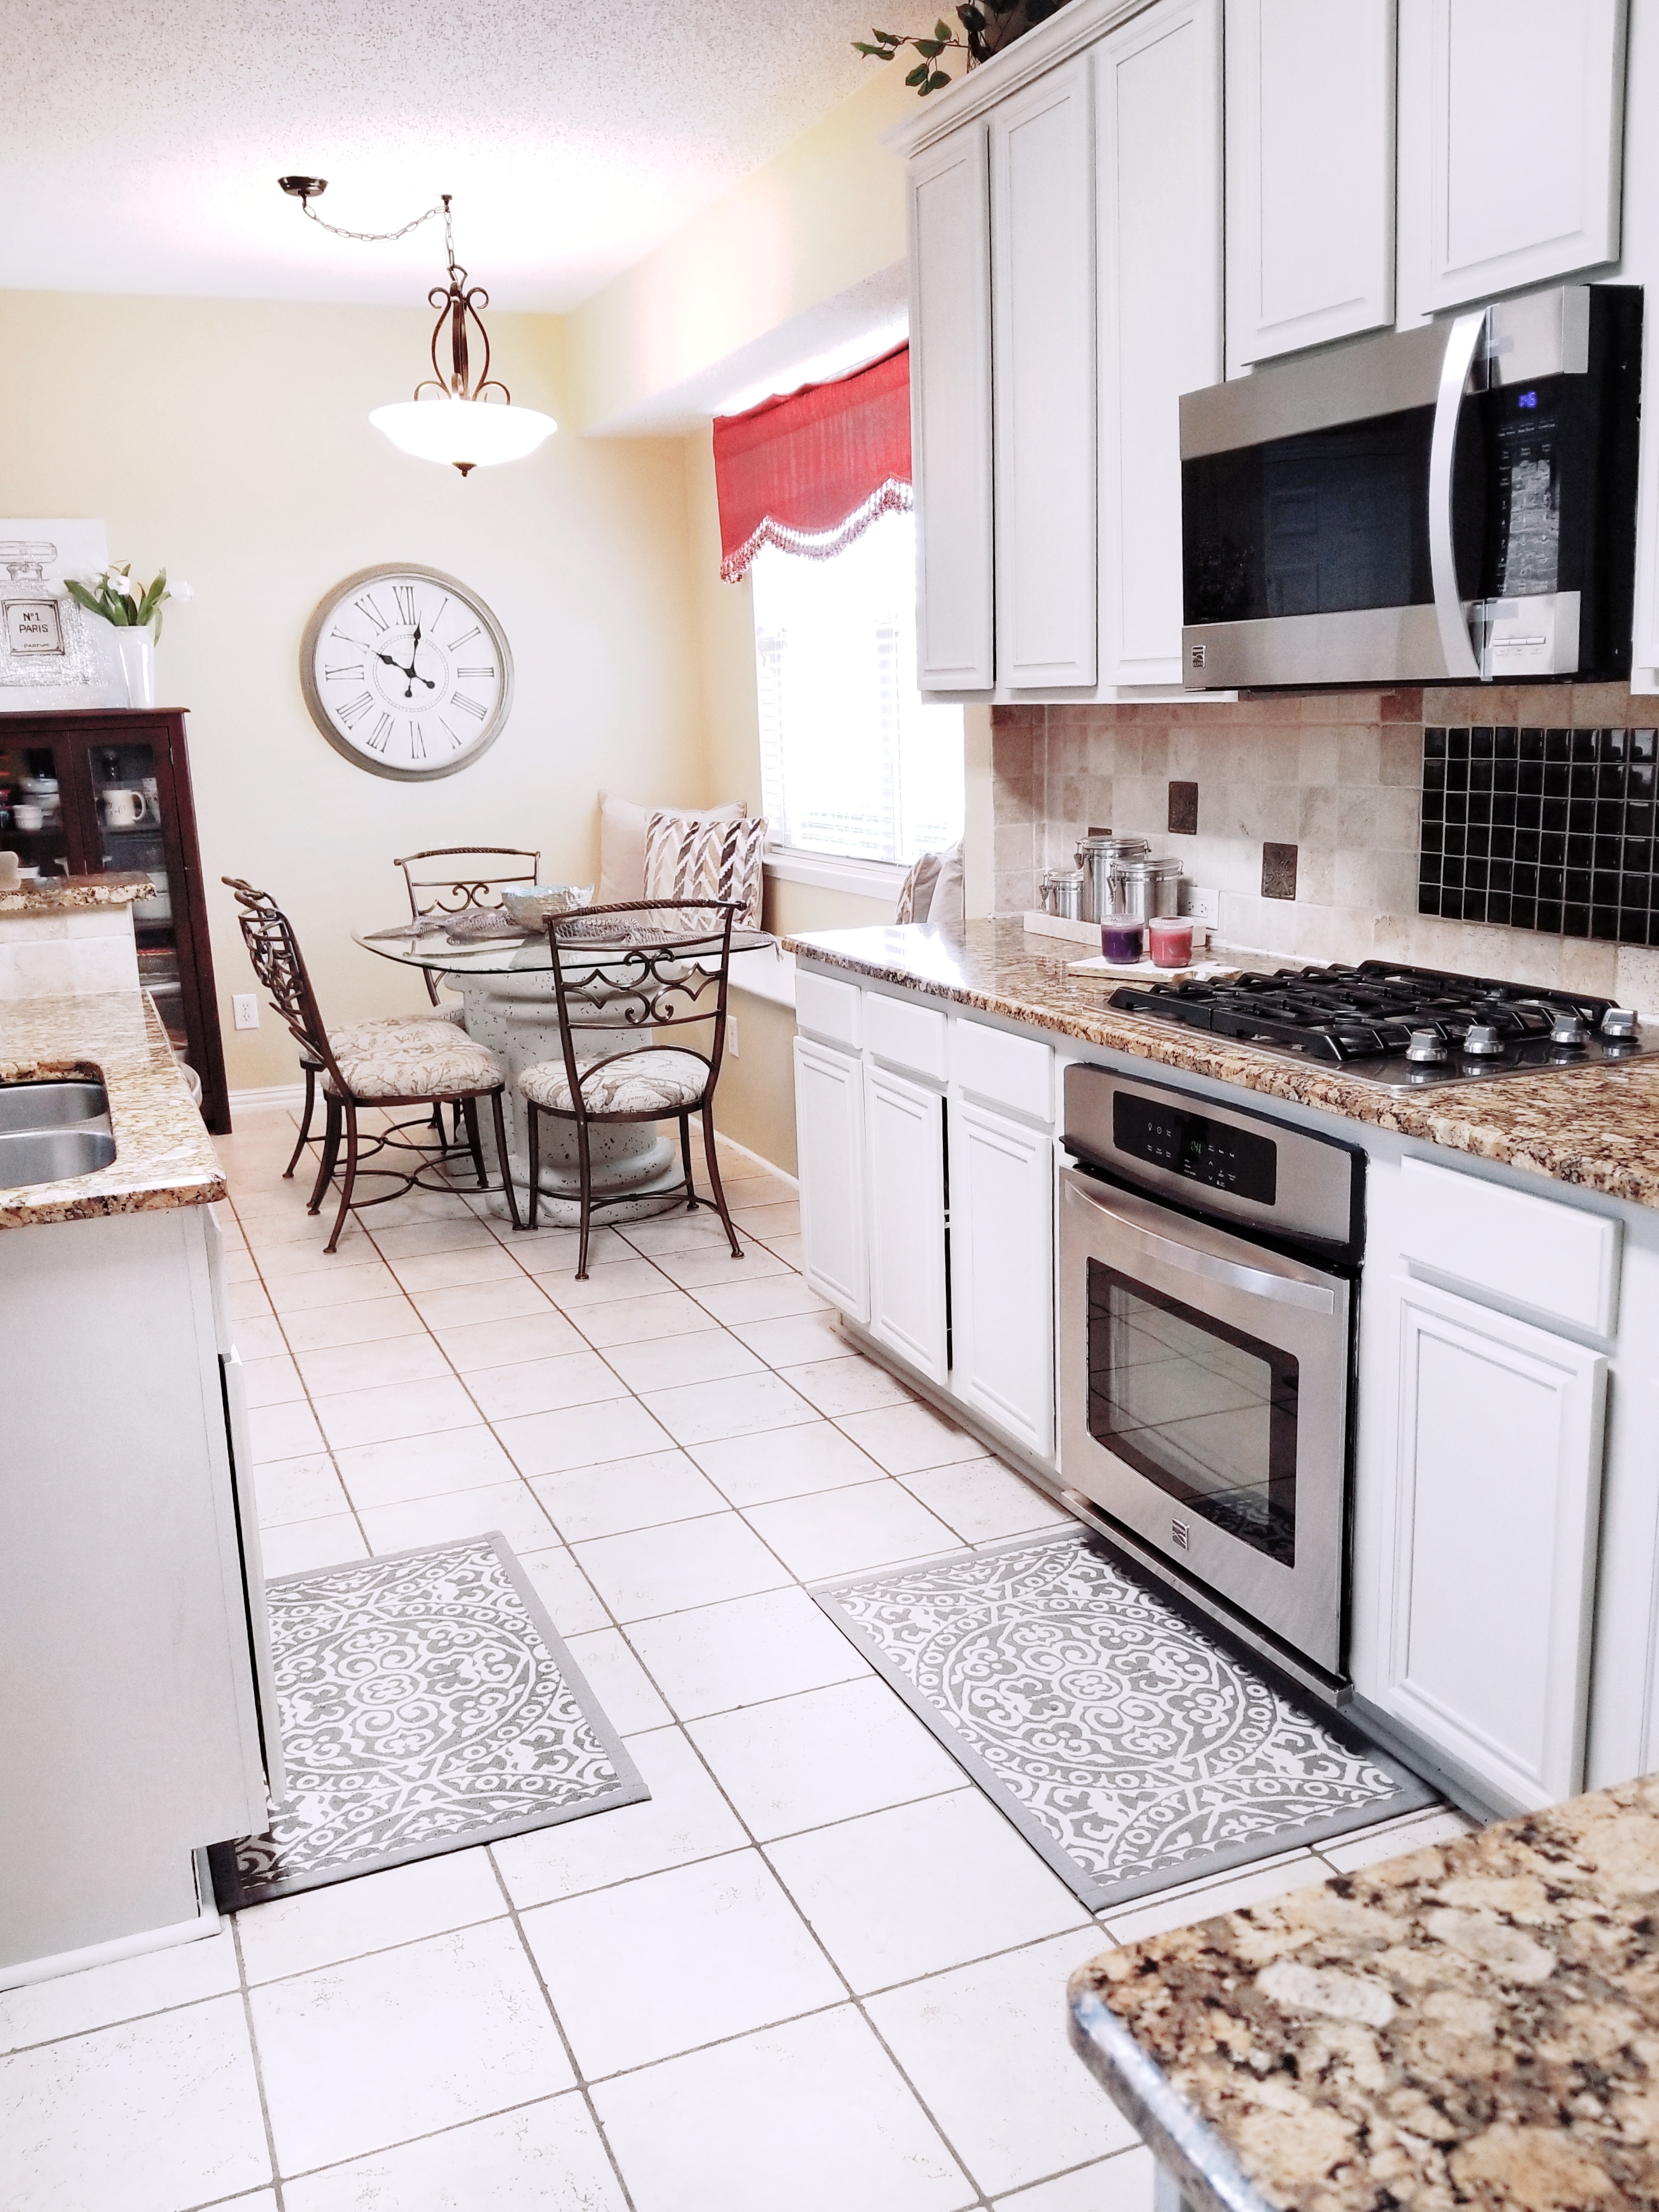
AFTER
However, If you ever attempt to paint your own cabinets, I hope this post comes in handy. I’m sure I’ll be back in 6 months or so to share how they’re holding up, but I’m already really confident that they’re going to last for a very long time. It’s only been a few days since we finished them and the paint has already dried to a rock solid finish. Woo hoo!
If you want to save this post to reference later, you can pin my photos too. Also, don’t forget to share this post with your family and friends who are planning to paint their furniture, floors or Kitchen cabinets, so they can learn how easy this project could be. I’ve saved my behind the scenes of our Kitchen cabinets on my Instagram page story highlights for you to get a glimpse of this project.
And don’t forget to give me a FOLLOW on Instagram and Liketoknow.it App profile ‘avanifashionbeautydecor‘, so you don’t miss such great tips and SHOP my posts.
XX, Avani

